1. Open an Internet Browser
2. Copy this link: https://bee.sg/Cygnet_web_2.0.8.exe and paste the link into the address bar of your internet browser, then press Enter

3. Click on the Cygnet_web_2.0. Web installer to start the Installation/Update

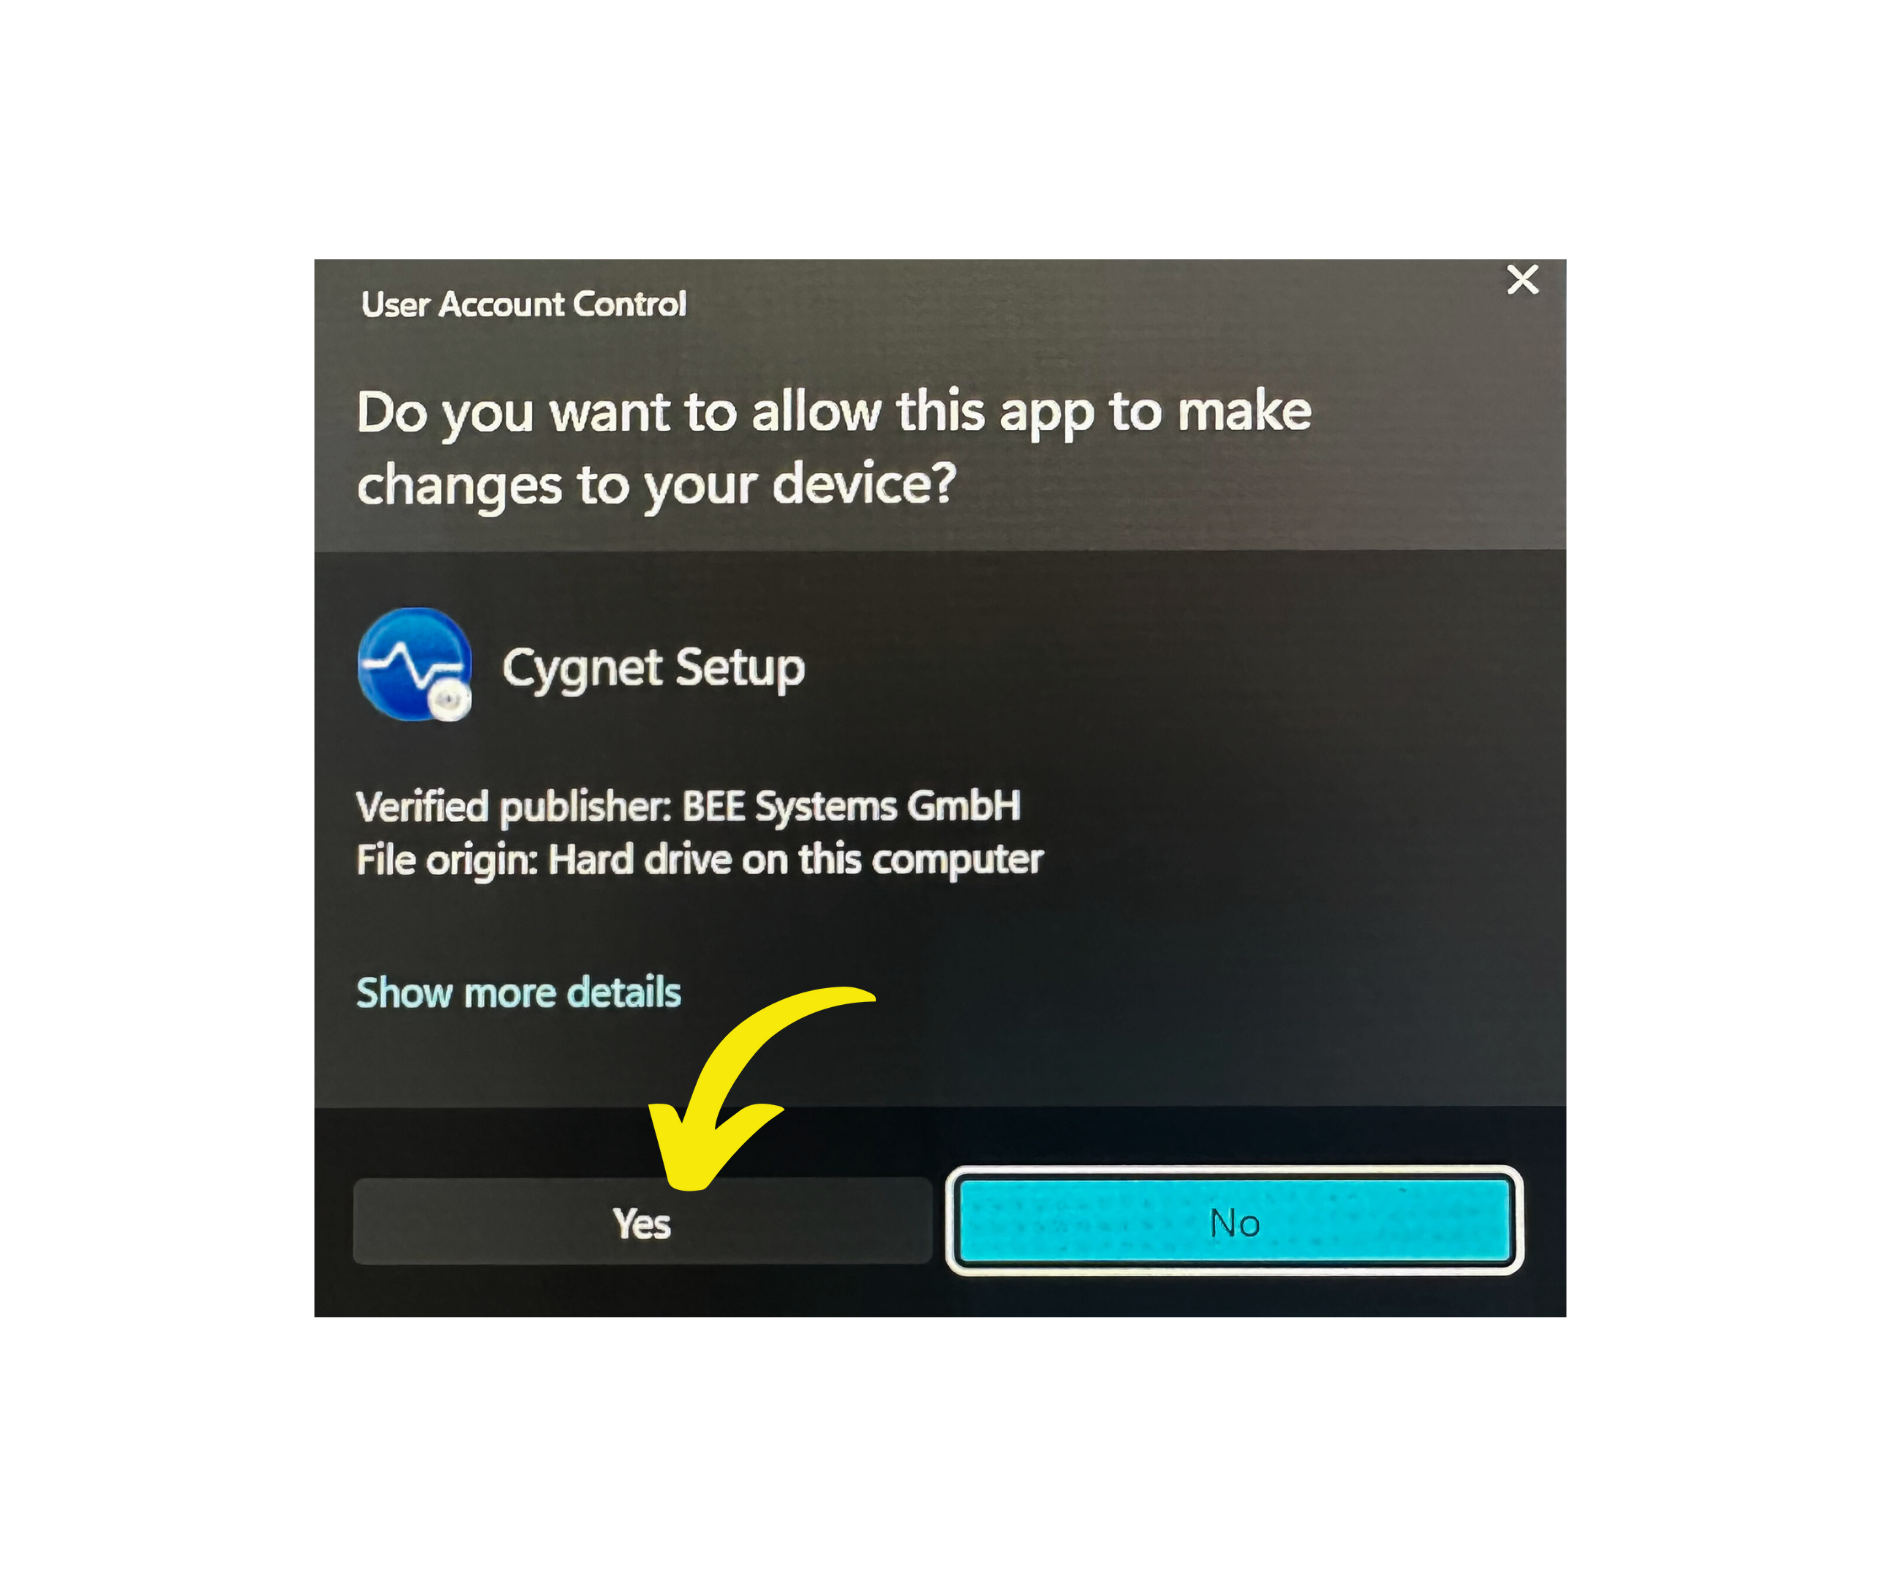
4. Do you want to allow this app to make changes to your device? Click Yes

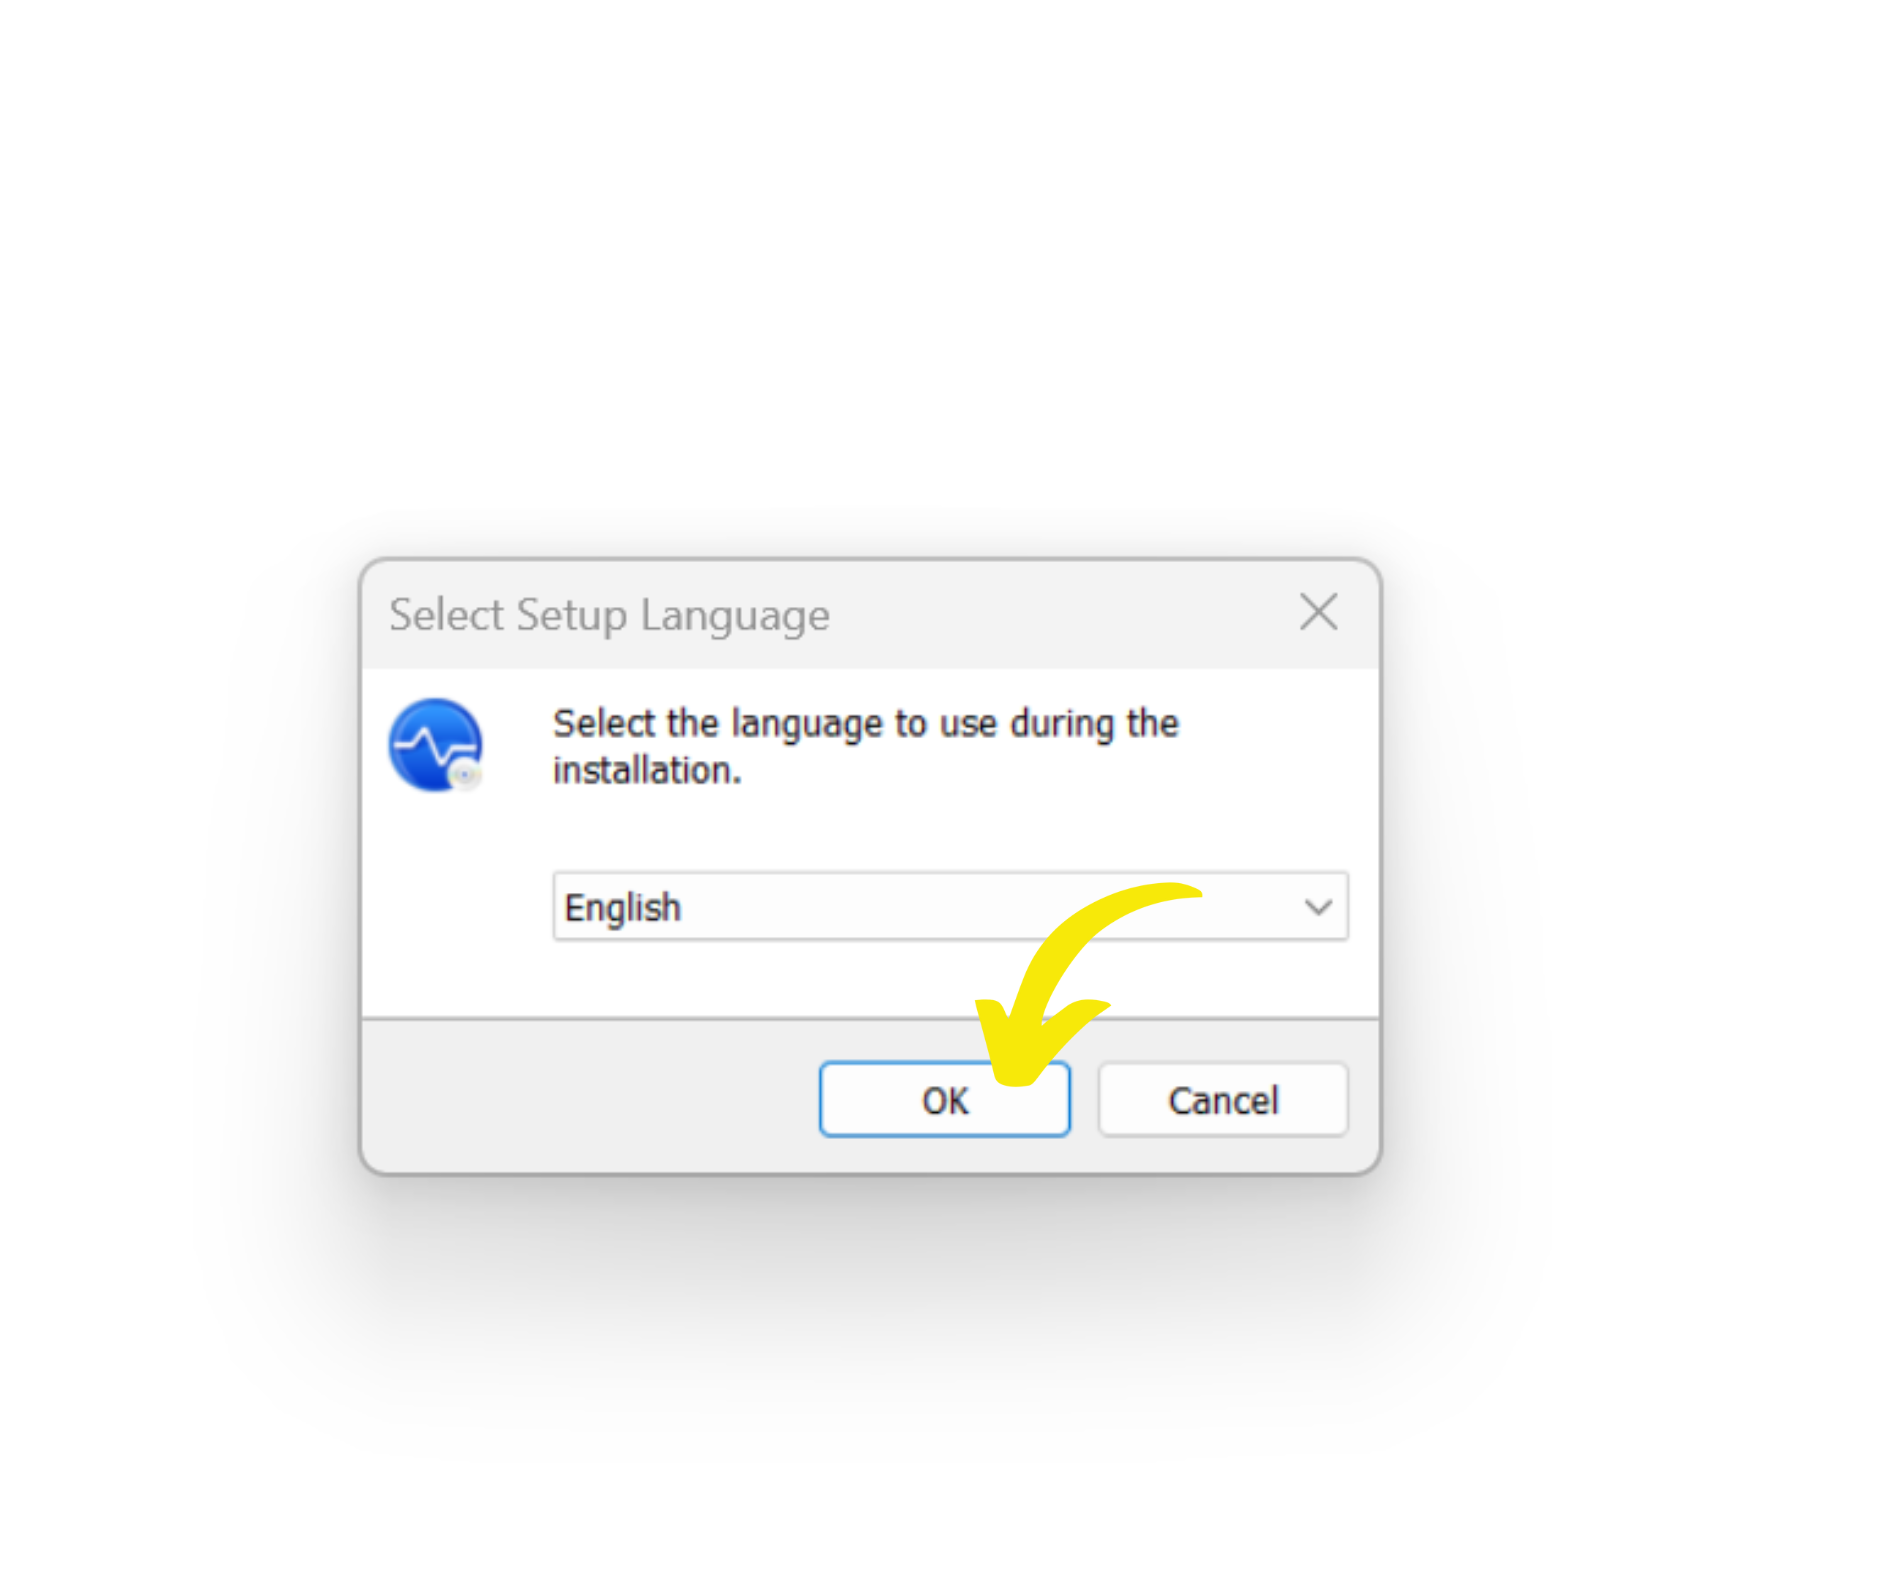
5. Select Language; Click OK
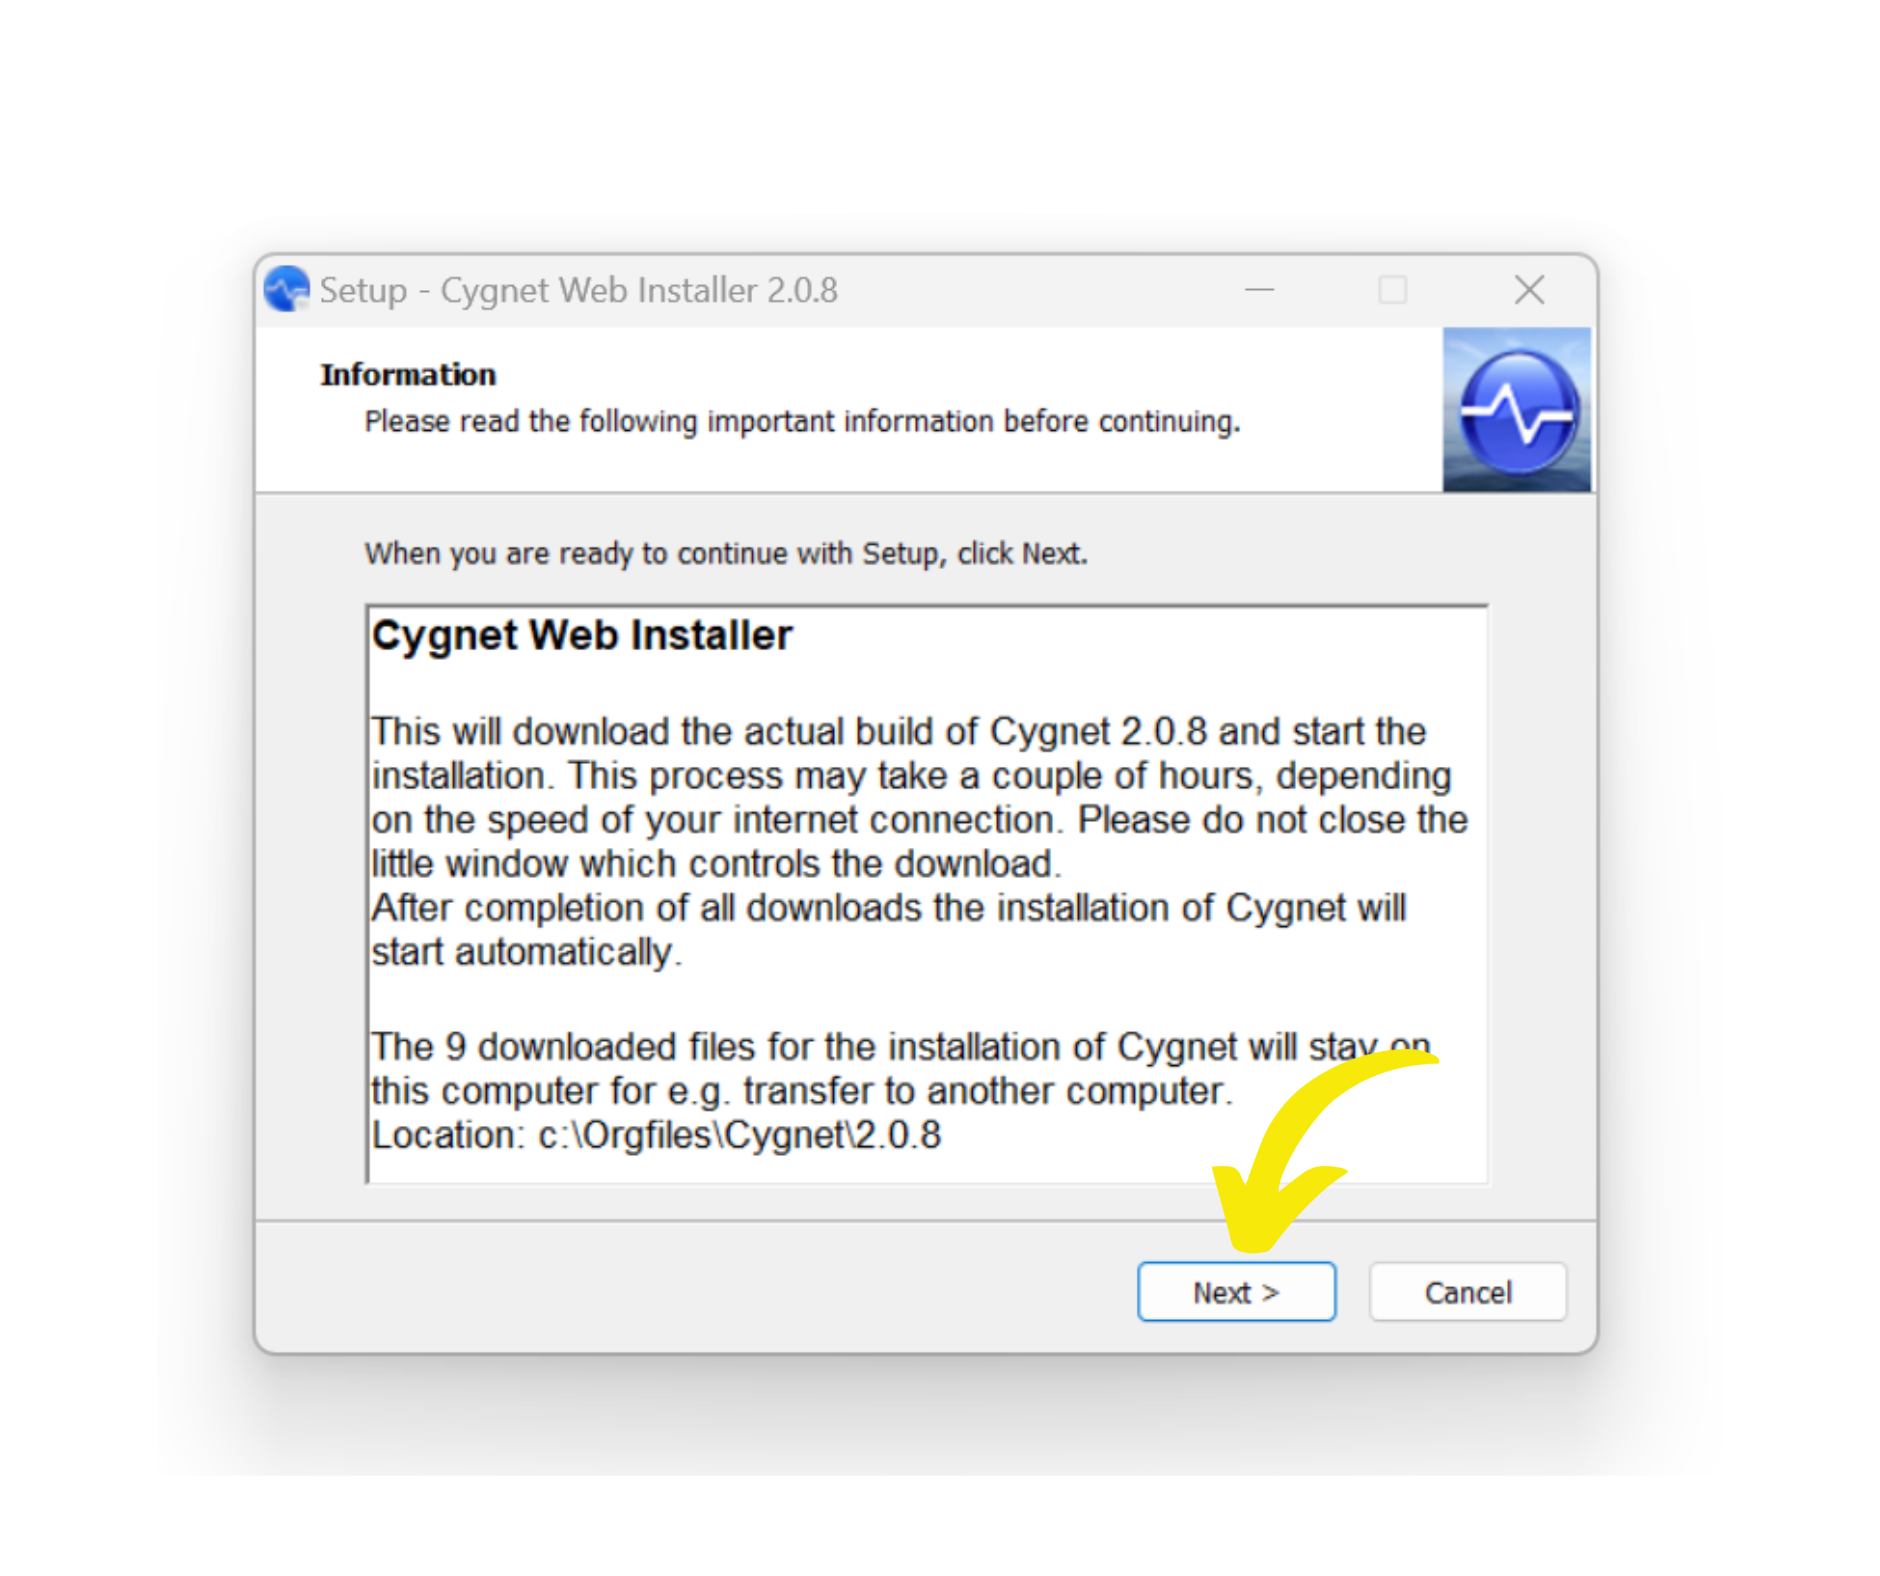
6. The Web installer downloads the files needed to install Cygnet; Click Next
7. Cygnet is downloading

8. Launch Cygnet, Click Yes*

*If you miss this prompt, you can go to C:\Orgfiles\Cygnet\2.08 and click the Application icon to start the installation

9. Do you want to allow this app to make changes to your device? Click Yes
10. Welcome to the Cygnet Setup Wizard; Click Next

11. Accept Cygnet License Agreement; Click Next

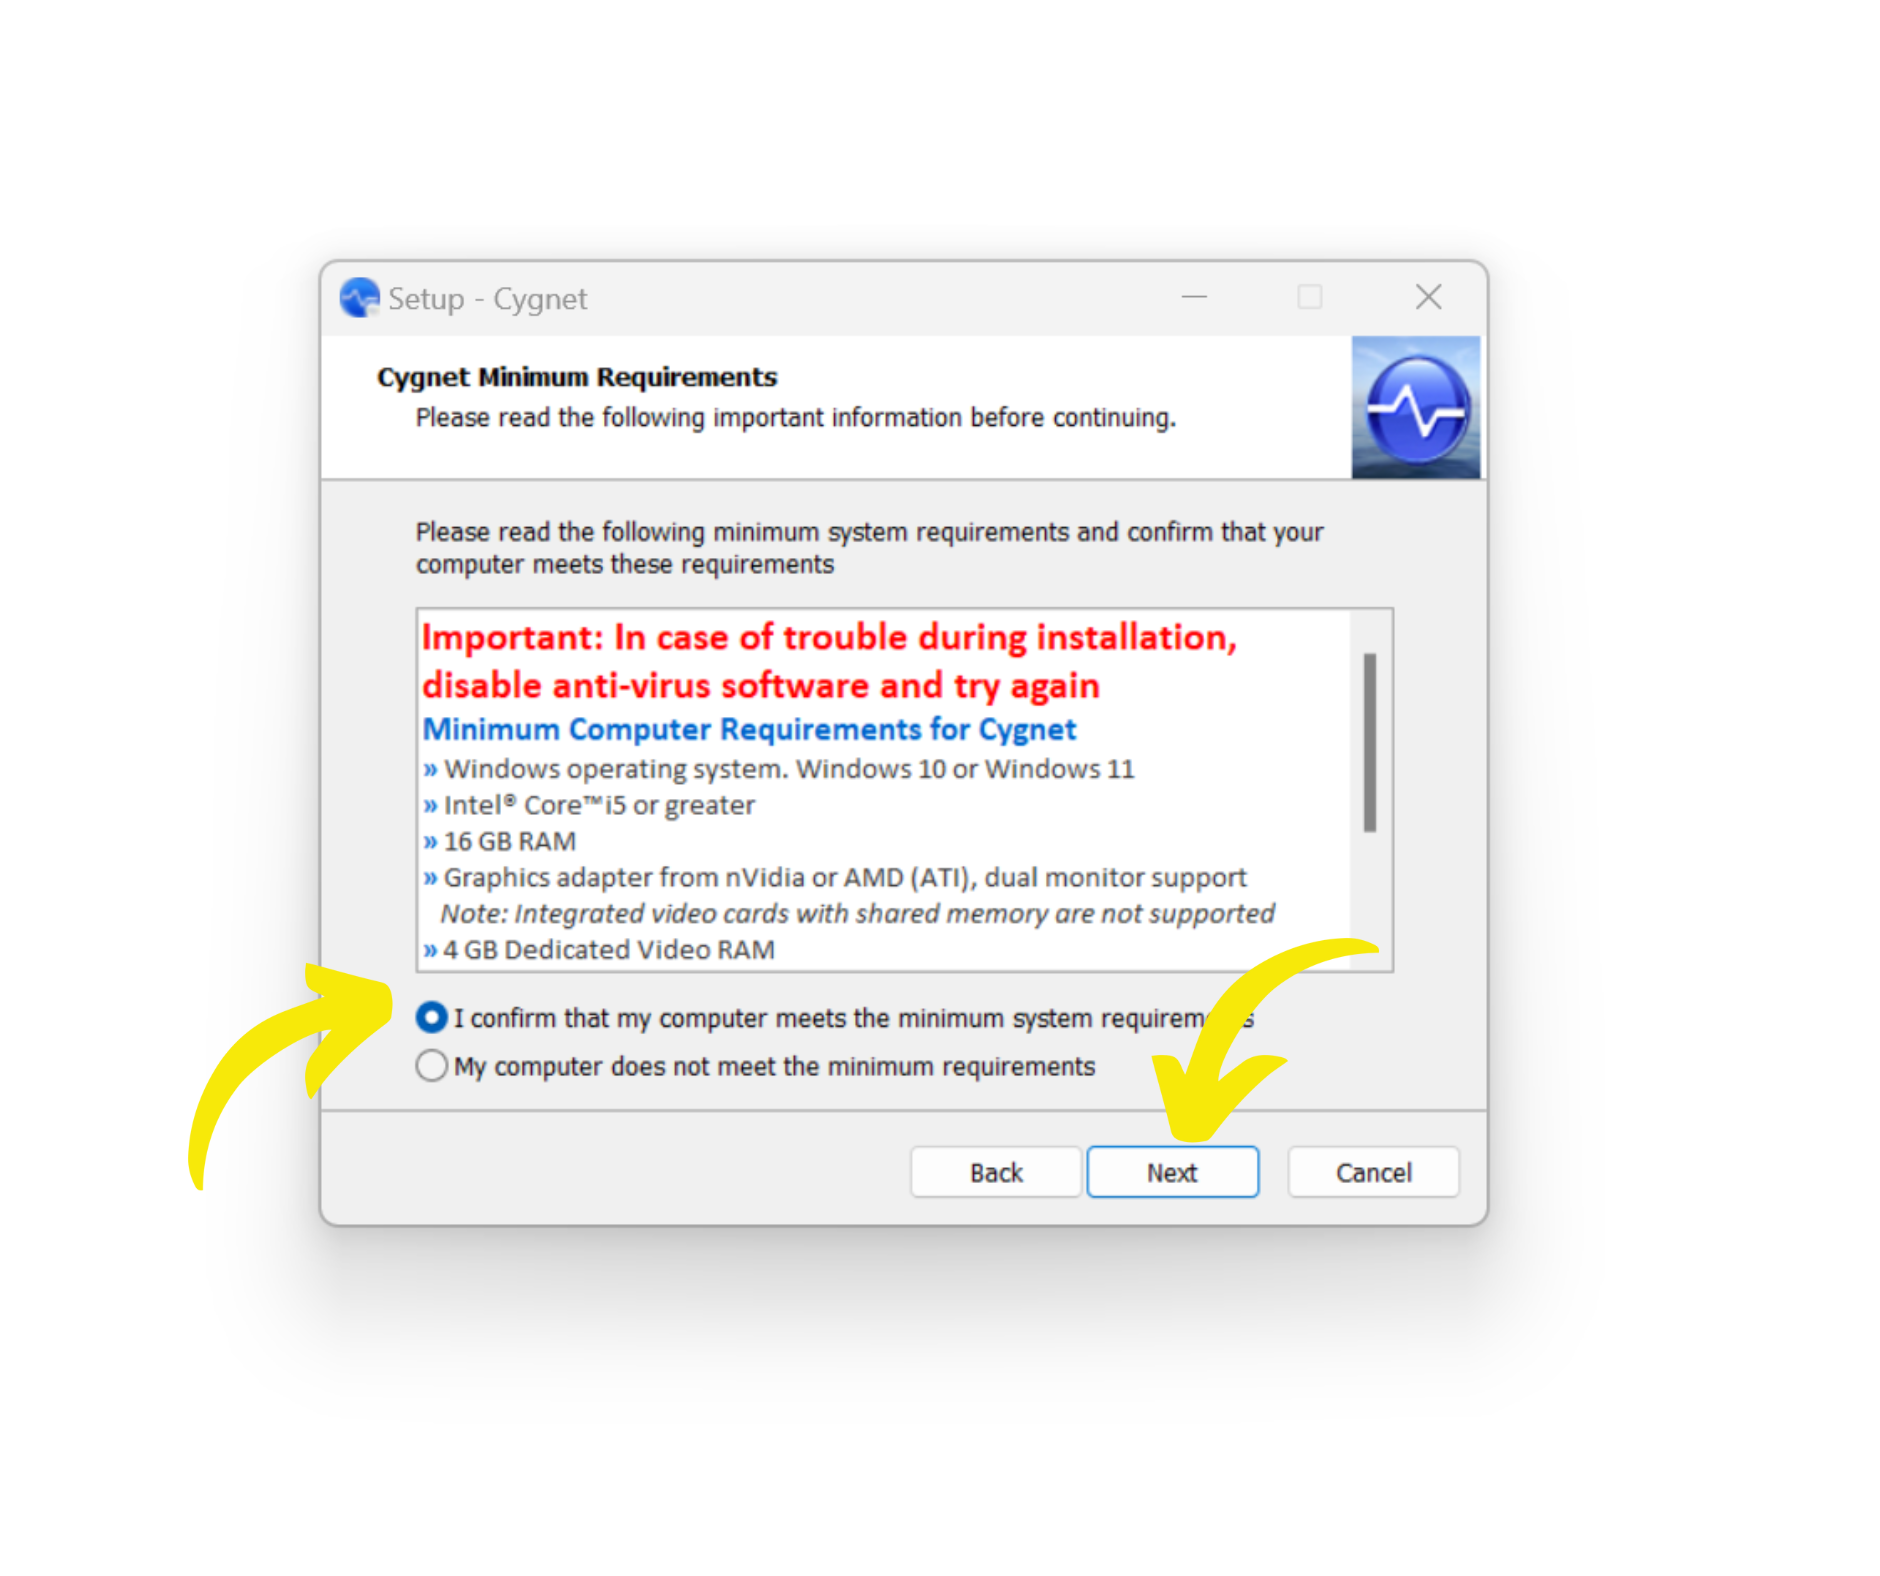
12. Confirm your Computer meets the Cygnet Minimum Requirements, Click Next
13. Default installation Location; Click Next
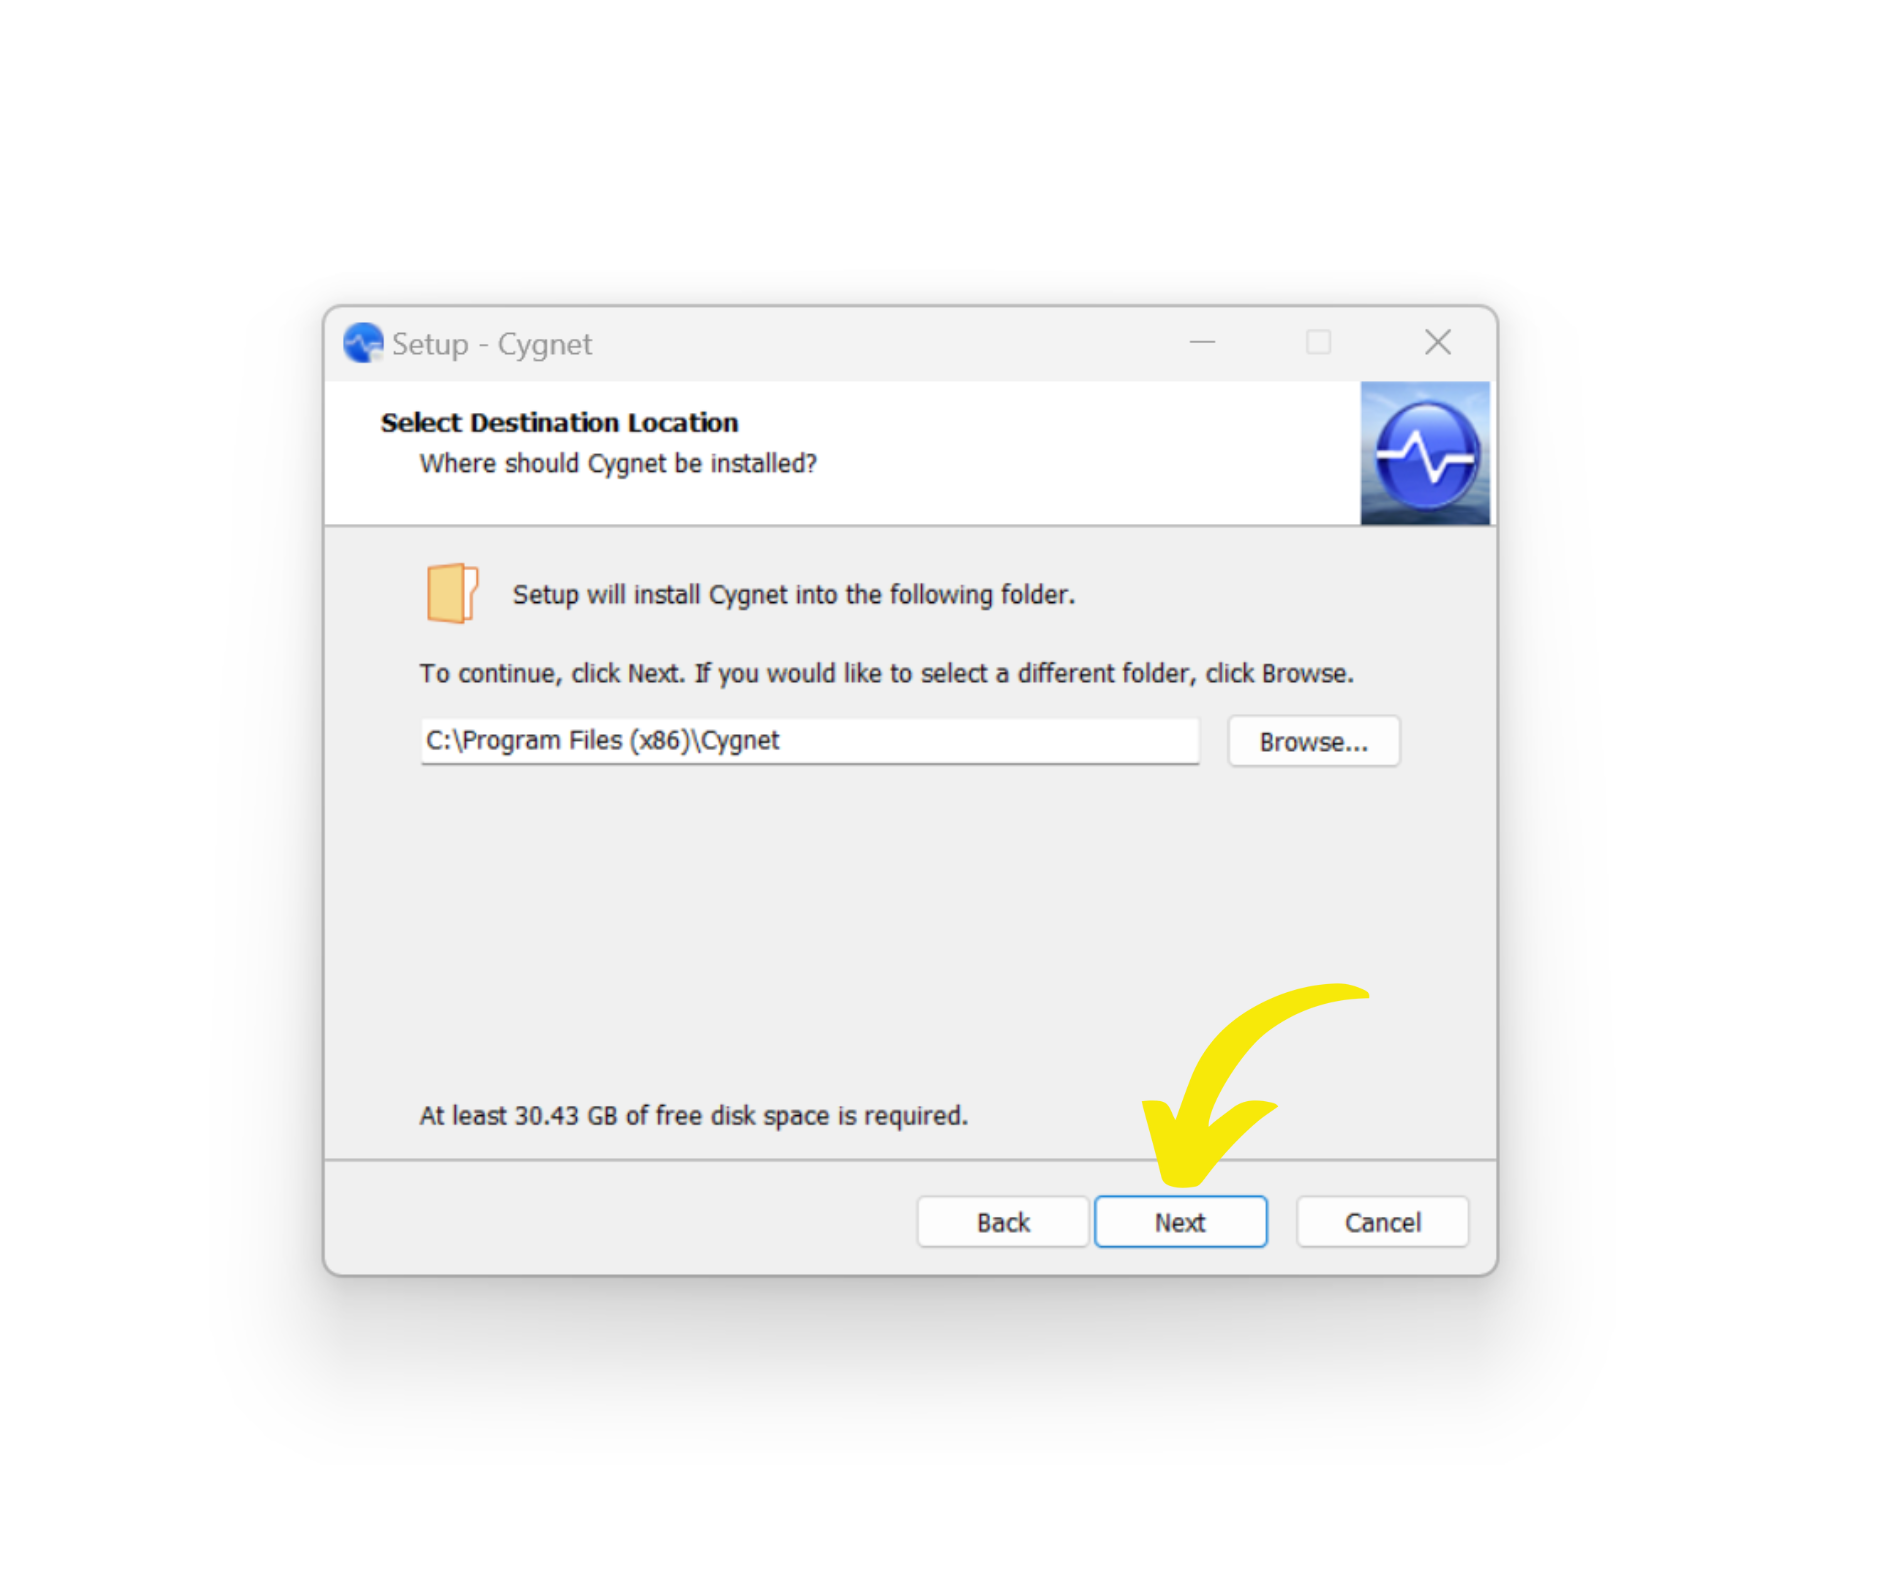
14. Create Shortcuts; Click Next
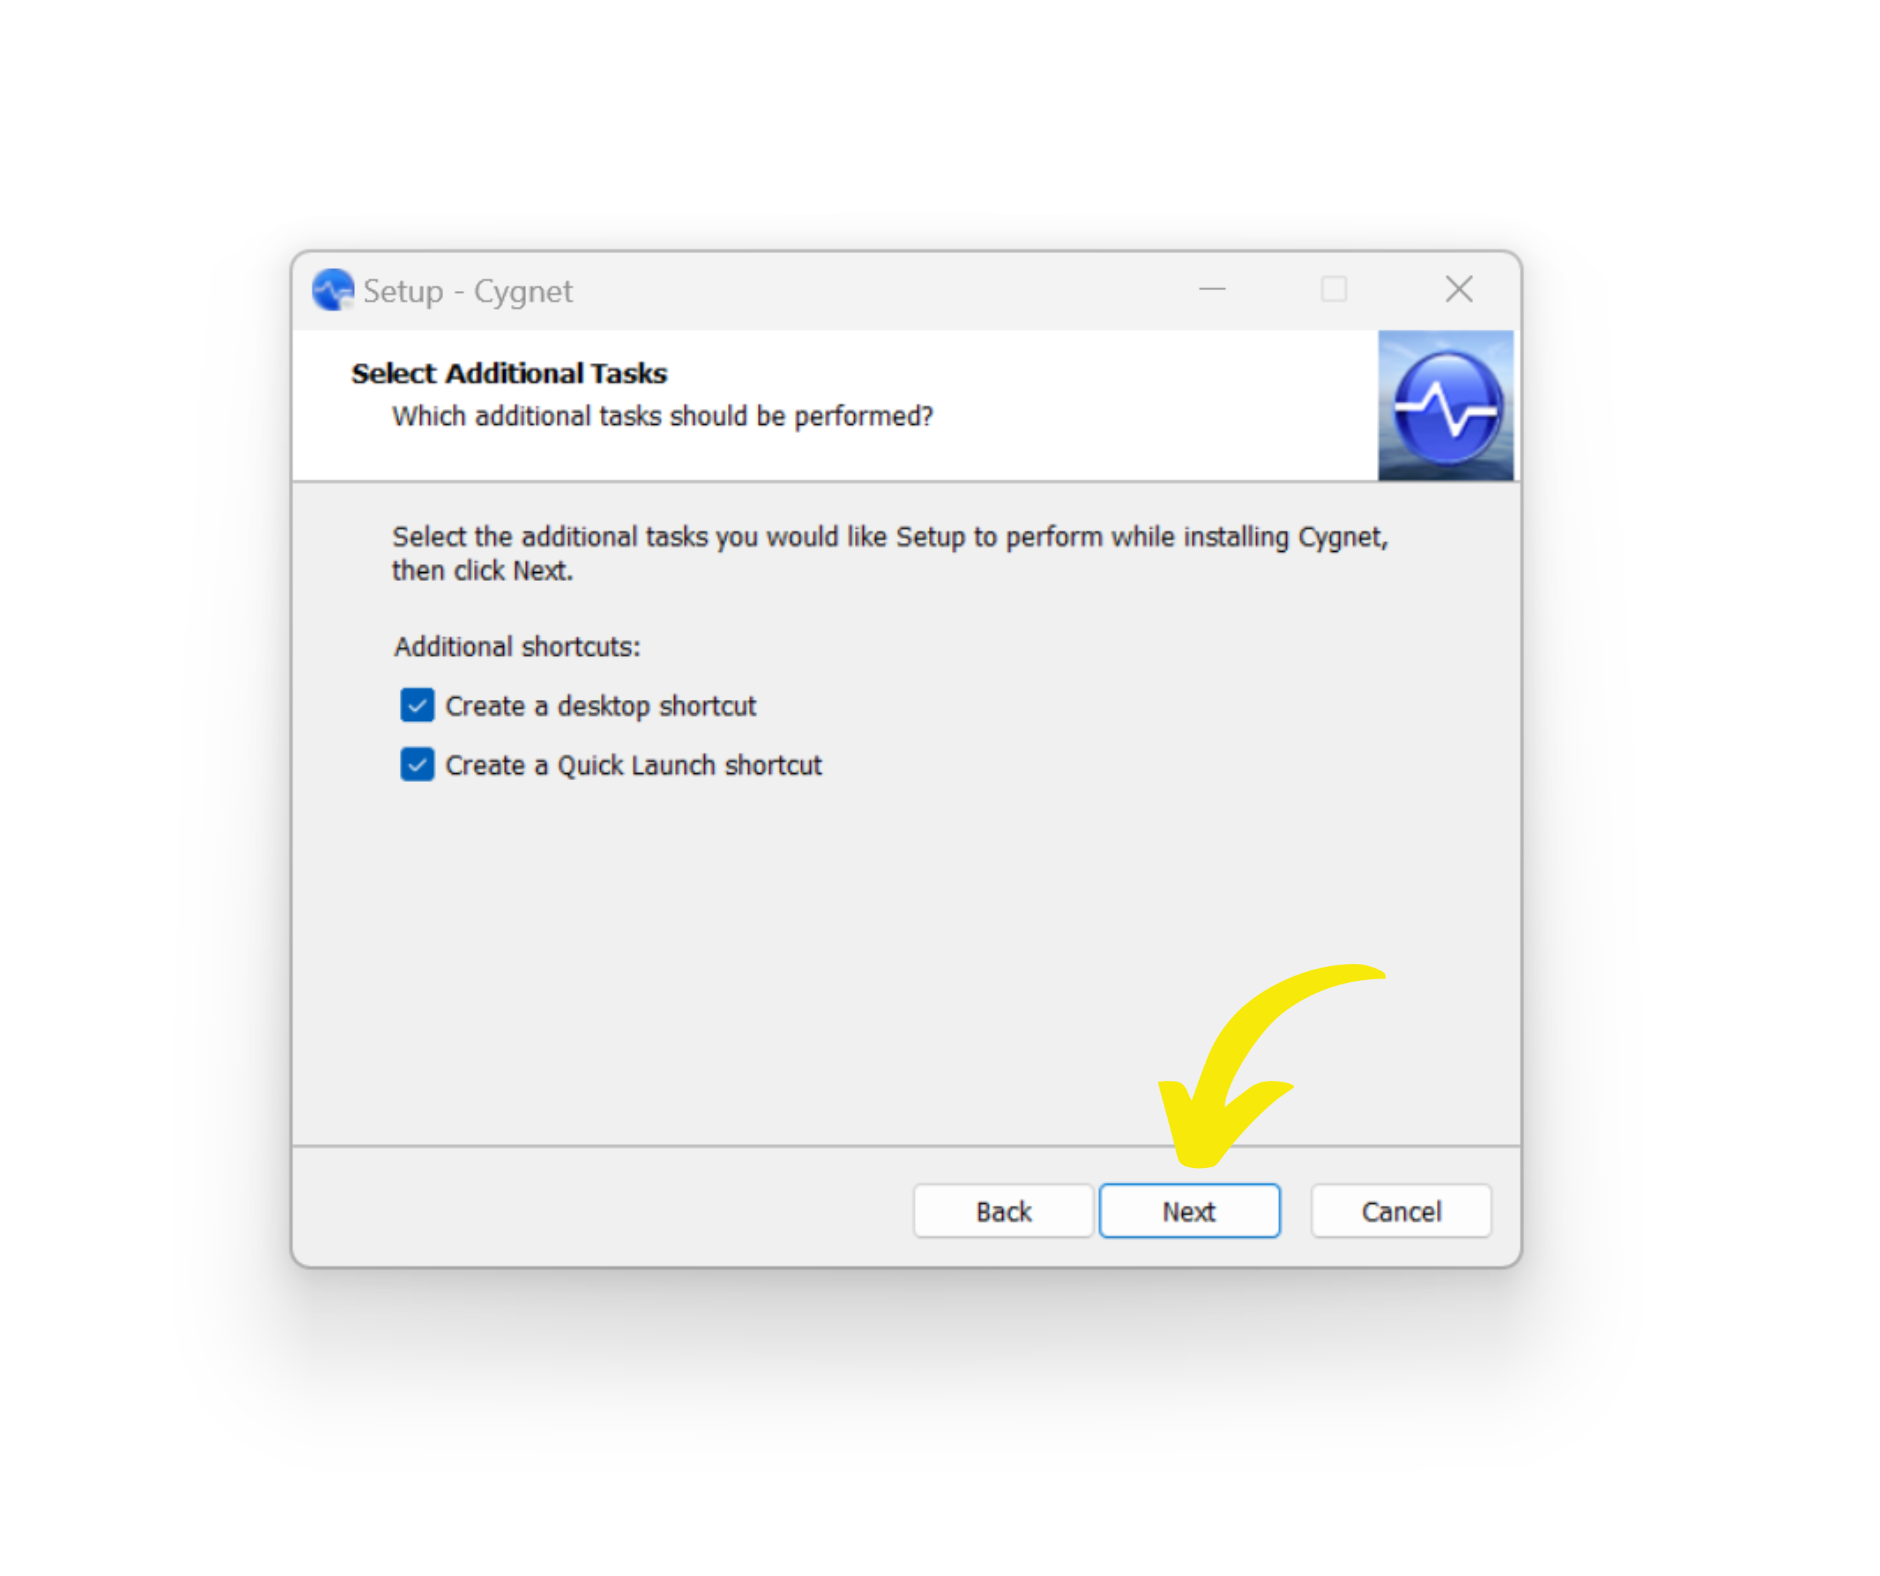
15. Ready to install; Click Install

16. Almost Done; Click Next
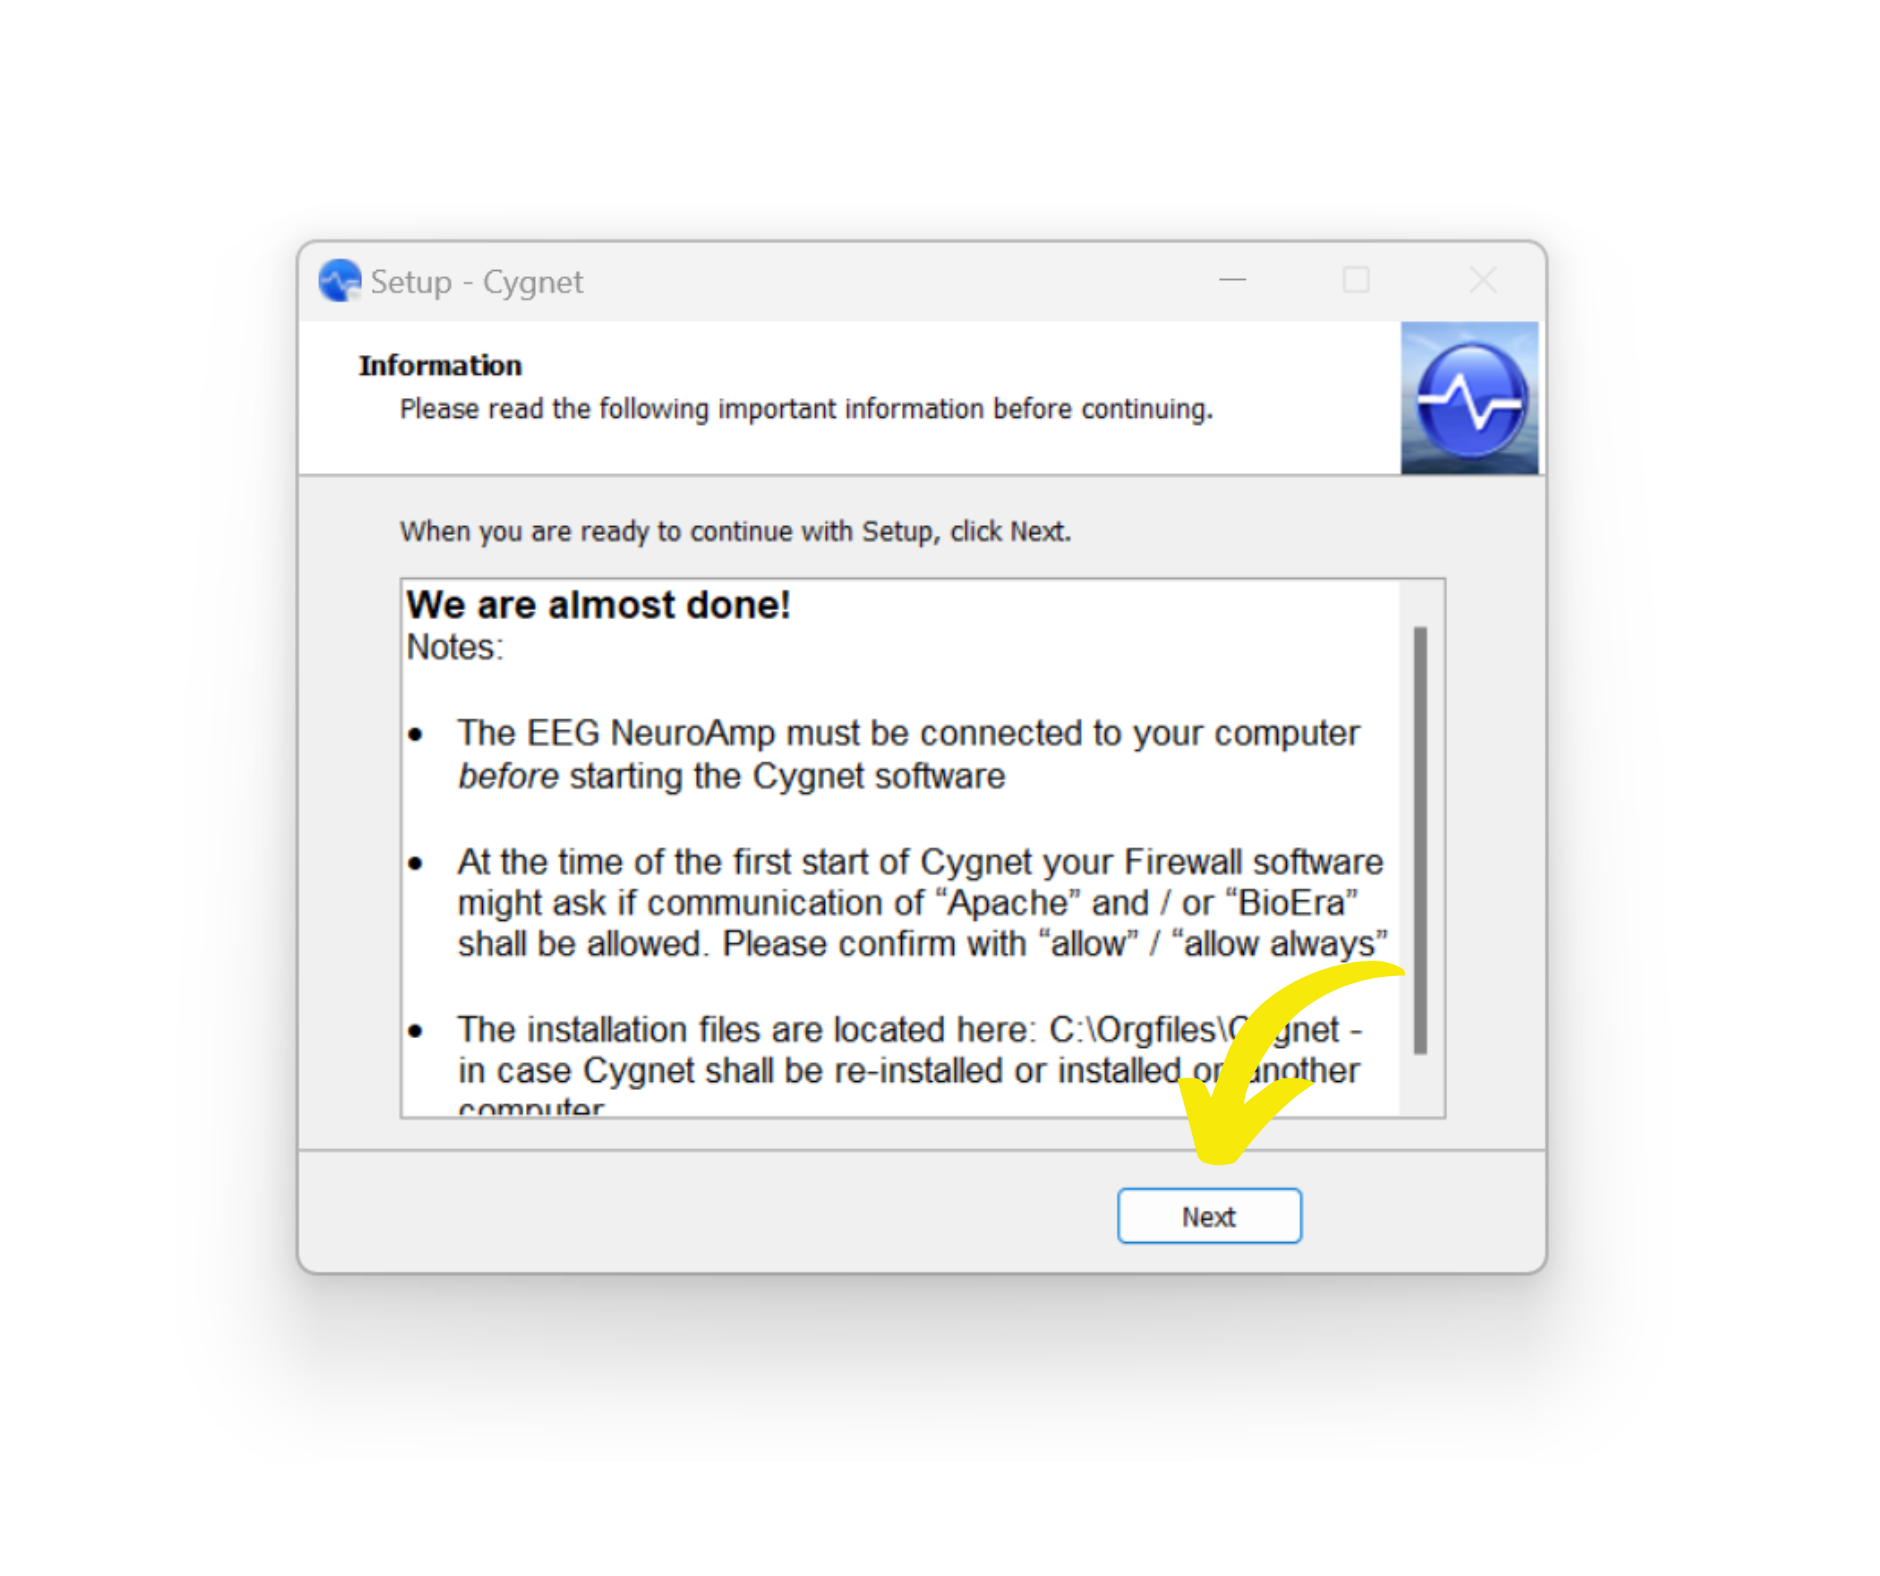
17. To complete the Cygnet Setup Wizard; Click Finish


